
How to Patch Drywall So You Can't Tell It Was Ever Broken
Three thin coats and one trick beat one thick glob every time.
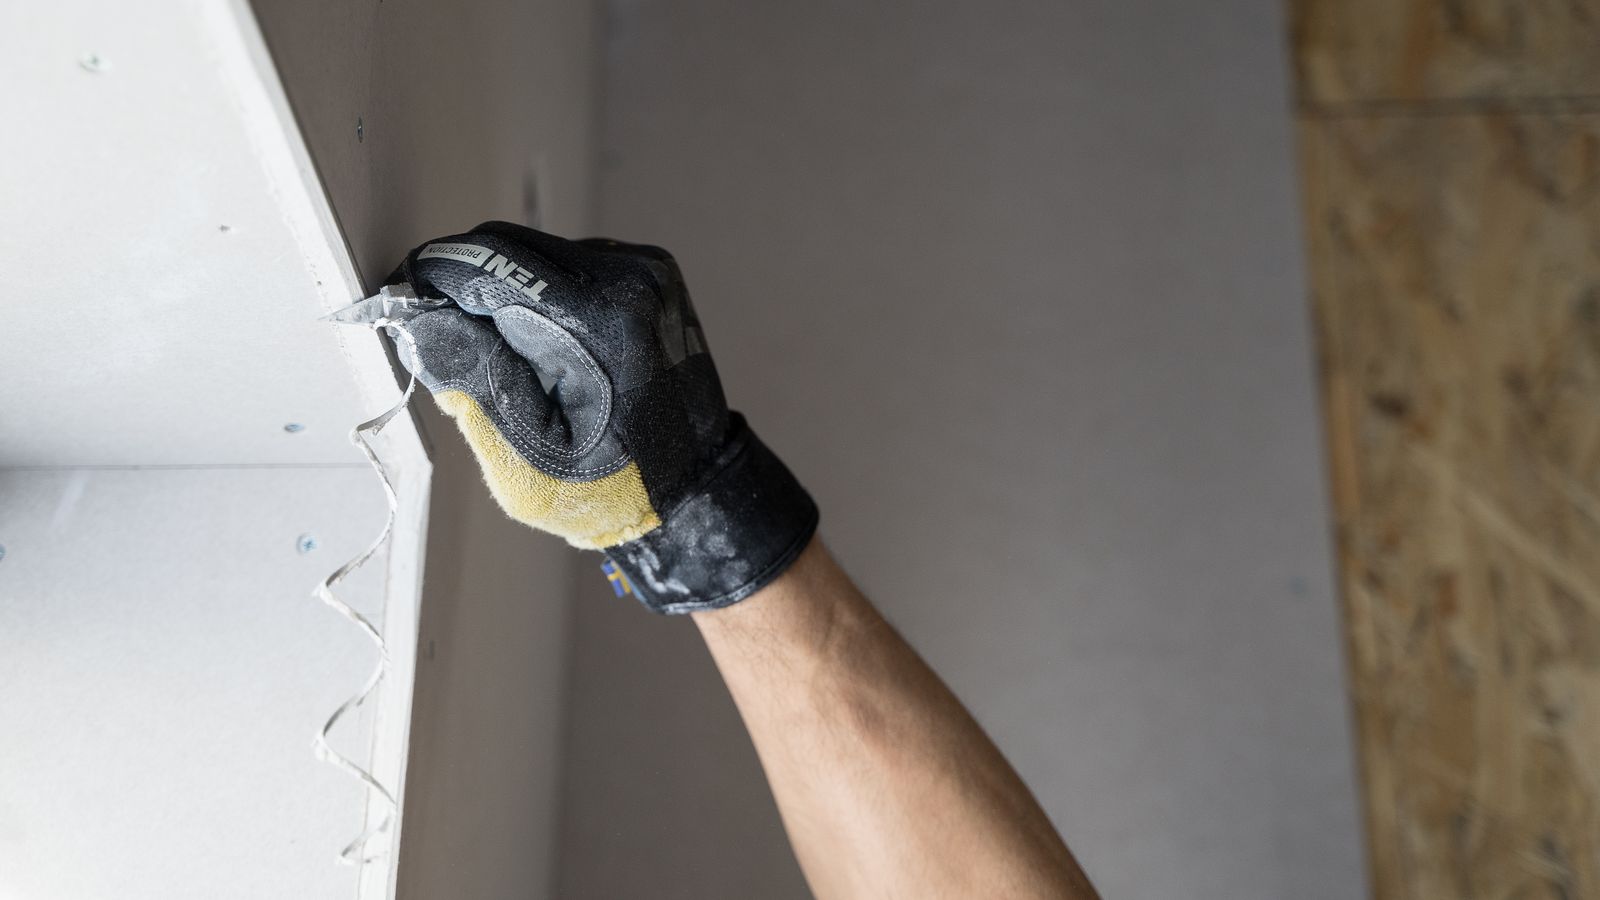
There's a doorknob-shaped dent punched into the hallway wall, or a fist-sized hole where you moved the dresser wrong. You've seen "repaired" walls that look like a scar under the paint — a dull, raised patch that catches the light from clear across the room. The difference between that and an invisible repair isn't skill or expensive tools; it's understanding one principle and not rushing the drying. Here's how to make yours genuinely disappear.
The whole secret is thin and wide, not thick and small. A hidden patch fades the repair out over a foot of wall in a few skinny coats. The scarred ones you've seen are one heavy glob of compound that shrank, cracked, and telegraphed through the paint. Patience between thin coats beats one thick coat every time.
What you'll need
Nothing exotic: a tub of joint compound (pre-mixed "all-purpose" is fine for small jobs), a putty knife or two — a wider 6-inch one helps you feather — self-adhesive mesh patch for holes, fine sandpaper (120–150 grit) or a sanding sponge, and primer. For a bigger hole you'll also want a scrap of drywall and a utility knife.
Small holes and dings
- Back it if it's a hole. Cover anything up to about an inch with a piece of self-adhesive mesh patch; simple dents, dimples, and screw holes don't need it.
- First coat, thin. Spread a light coat of joint compound over the patch with the putty knife, pressing it firmly into the mesh so there are no air pockets. Scrape the excess off — you want it flat, not built up.
- Second and third coats, wider. Let each coat dry fully (a couple of hours for pre-mixed, and it turns lighter when dry), knock down any ridges, then feather the next coat a few inches wider than the last. You're blending the edge out over roughly a 12-inch span so there's no lip to catch the light.
- Sand smooth. Once the last coat is bone-dry, sand with fine paper until you can run your hand across it with your eyes closed and not feel where the wall stops and the patch begins.
Compound shrinks as it dries, which is exactly why one thick coat fails — it sinks and cracks — and three thin ones win.
The doorknob-sized hole: the California patch
For a hole a few inches across, the trick the pros use needs no wood backing behind the wall:
- Cut a square of new drywall a couple of inches bigger than the hole.
- On the back of that square, score the gypsum about an inch in from each edge and snap the excess off, peeling it away but leaving the front paper intact as "wings."
- Hold it over the hole, trace the drywall plug, and cut that opening in the wall so the plug drops in flush.
- Butter the paper wings with compound, press the plug into the hole so the wings stick flat against the wall around it, and smooth them down.
- Finish with the same three feathered-and-sanded coats as above.
Prime the patch before you paint — this is the step everyone skips. Bare joint compound is porous and drinks up paint completely differently than the painted wall around it, so even a flawlessly smooth patch will "flash" as a dull halo the moment light hits it, unless you spot-prime it first. One dab of primer over the repair is the difference between invisible and obvious.
Match the texture, then the paint
If your wall isn't perfectly flat — most aren't — match the surface texture before painting, or the smooth patch will stand out even after priming. A knockdown or orange-peel spray can from the hardware store gets you close on most modern walls; practice on cardboard first to dial in the spray. Then, when you paint, feather the paint out well past the patch rather than cutting it off right at the repair — even the exact same can of paint can leave a faint edge if you stop too abruptly, and a slightly larger blended area disappears.
The two mistakes that ruin an otherwise good patch
Sanding too soon. Compound that feels dry on the surface can still be damp underneath, and sanding it then gums up the paper and gouges the finish. Wait until it's a uniform light color all the way through — overnight is safest for that final coat. Sanding too hard. You're not grinding the patch down flush by force; you're feathering its edge into the wall. Lean on it and you'll cut through into the paper face of the drywall around the repair, which fuzzes up and telegraphs through paint no matter how well you prime. Use light passes, check with your bare hand as you go, and stop the instant it feels flush.
When to call a pro
Big holes, water-damaged sections, or anything involving a full sheet of drywall or a taped seam is a different skill level — hiding a long taped joint dead flat takes real practice and a wide knife. A small dent or a doorknob hole, you've got this. A caved-in section, a sagging water-stained ceiling, or cracks that keep coming back (which usually mean movement, not a surface problem), get help.
Keep going
If Your House Keeps Making Cracking Sounds, Here's When to Worry
Most pops are harmless. Two of them aren't — here's how to tell them apart.
Why Your Breaker Keeps Tripping (And When to Stop Resetting It)
Three causes, one of which means you put the flashlight down and call an electrician.
The Real Reason Your Water Heater Runs Out of Hot So Fast
Usually it's sediment stealing your tank — and you can flush it in an afternoon.