
The Right Way to Mix Concrete (Most People Get the Water Wrong)
Too much water is why so much DIY concrete cracks — here's the consistency to hit.
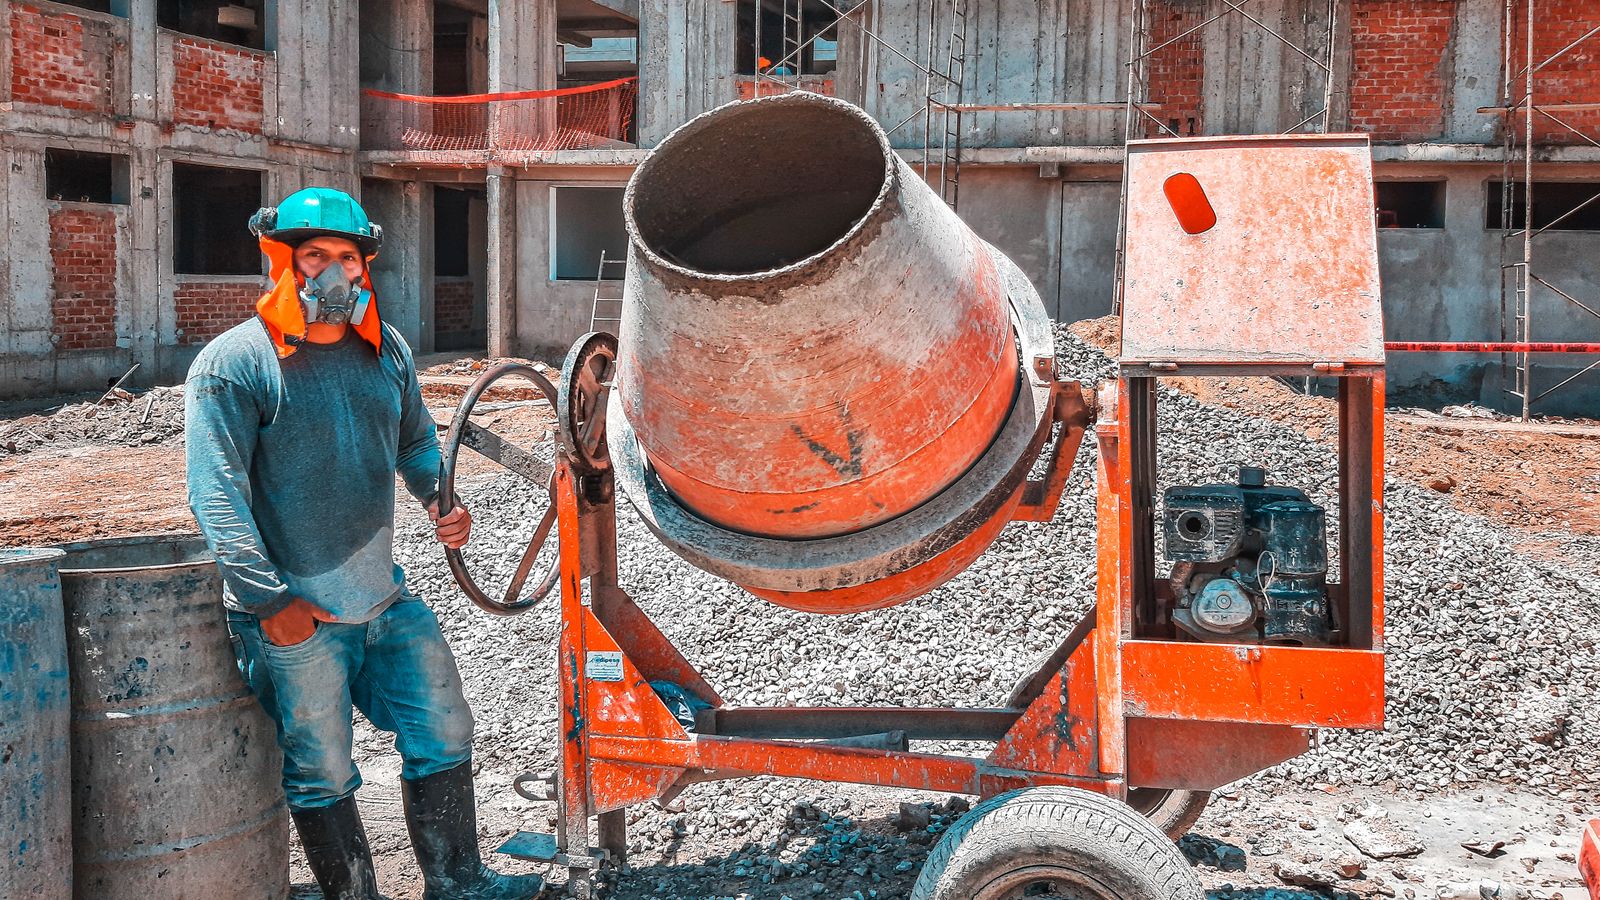
You cut open the bag, dump it in the wheelbarrow, add water until it stirs up nice and smooth, and pour your new post footing or pad. A month later it's laced with hairline cracks and the surface dusts off on your hand. The mix wasn't your problem. The water was — and it's the single most common mistake in DIY concrete, precisely because the thing that makes concrete easy to work is the thing that makes it weak.
Concrete gets its strength from a chemical reaction (hydration) that needs only a specific, fairly small amount of water. Add more than that — because a wetter, soupier mix is easier to stir and pour — and you get concrete that's weaker, softer, dustier, and far more likely to crack. Almost every bad DIY pour is simply too wet.
Why more water means weaker concrete
Cement and water react to form the hard crystal structure that binds everything together, and that reaction uses a set ratio of water to cement. Any water beyond what the reaction needs doesn't make it stronger — it just sits in the mix, then evaporates as it cures and leaves behind tiny voids and channels. More water, more voids, weaker concrete. A soupy mix might pour like a dream, but it can lose a huge share of its potential strength and crack as all that excess water leaves. The stiffer the mix you can work with, the stronger the result.
Hit the right consistency
- Add the water slowly. Start with less than the bag calls for and work up — you can always add a splash, but you can't take it back out once it's in.
- Aim for stiff oatmeal. Drag your hoe or trowel through it: it should hold a distinct ridge and settle slowly, not flow back flat and shiny.
- Do the squeeze test. Grab a gloved handful and squeeze. It should hold its shape and barely glisten, not drip, run, or slump apart.
Prep the form and reinforce it
Strong concrete starts before the pour. Set your form on solid, compacted ground — loose fill under a slab is a recipe for cracks — and for anything load-bearing, add reinforcement (rebar or wire mesh) held up off the bottom so it ends up in the middle of the pour, not lying in the dirt. On a hot day, dampen the ground and the form first so they don't wick water out of your mix.
Work it, then leave it alone
Get it in the form, screed it level by dragging a straight board across the top, and then don't overwork the surface. Troweling and floating pull a soupy layer of water and fine cement to the top, and that layer dries weak and dusty — the very surface that takes the most wear. Give it time, and only tool or smooth the surface once it has started to firm up and the surface "bleed water" has disappeared.
Don't re-wet a batch that's stiffening up to buy more working time. "Retempering" — splashing in water and remixing — feels helpful but just adds water back and quietly kills the strength you were protecting. If you're working slowly or in the heat, mix smaller batches instead so you're never fighting a load that's already setting.
The step everyone skips: curing
Concrete doesn't "dry" — it cures, a reaction that needs moisture to keep going and keeps gaining strength for weeks. After it sets, keep it damp and shaded for several days: mist it a few times a day, or cover it with plastic sheeting to hold the moisture in. Letting a fresh slab bake dry in the sun is a top cause of weak, dusty, cracking concrete — the reaction stops the moment it dries out.
Give cracks somewhere to go
Concrete shrinks slightly as it cures, and it will crack somewhere — the trick is controlling where. On a slab, cut or tool control joints (straight grooves about a quarter of the slab's depth) every few feet; the concrete then cracks along those neat lines instead of randomly across the surface. It's the difference between a slab that looks intentional and one that looks broken.
Don't run out of concrete mid-pour
One thing that quietly ruins a slab is stopping halfway because you underestimated how many bags you needed. A pour finished in two sessions hours apart creates a cold joint — a weak seam where the fresh batch never bonds to the set one — and that seam cracks and separates later. Figure the volume before you start (length × width × depth, then check the yield printed on the bag), and buy a bag or two extra. It's far cheaper to return an unopened bag than to live with a slab that split along the line where you ran dry.
Skip this
Pouring on frozen ground or right before a hard freeze — water in the mix that freezes before it cures expands and wrecks the concrete from the inside. Wait for a stretch of above-freezing days if you possibly can, and keep a fresh pour covered if a cold night sneaks in.
Keep going
Replace a Window Without Wrecking the Wall Around It
Know which kind of replacement you're doing before you pry anything loose.
How to Caulk Like a Pro: The Trick That Hides a Shaky Hand
Right caulk, small tip, and one tape trick turn a wobbly bead into a crisp line.
Your AC Froze Into a Block of Ice — Here's the $0 Fix Before You Call Anyone
Nine times out of ten it's airflow, and you can clear it in about ten minutes.