
How to Caulk Like a Pro: The Trick That Hides a Shaky Hand
Right caulk, small tip, and one tape trick turn a wobbly bead into a crisp line.
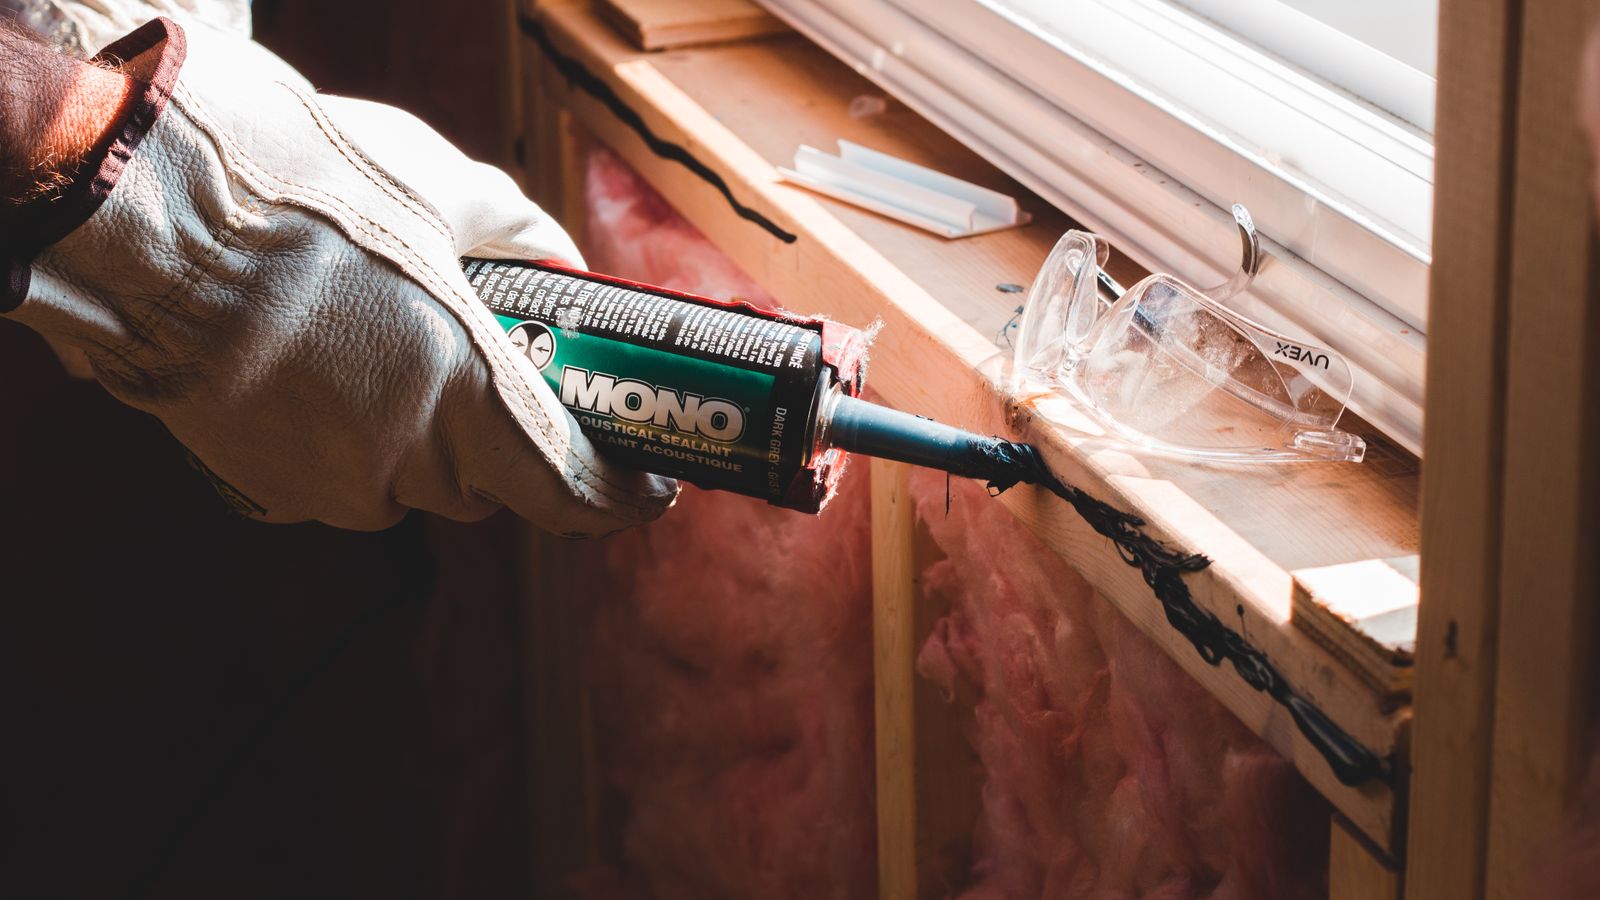
Your last caulk job looked like a toddler frosted it: lumpy, smeared onto the tile, and peeling at the edges within a year. Here's the good news — the caulk wasn't the problem, and neither was your steady hand. A handful of small habits are the entire difference between a wobbly mess and a crisp, professional line that lasts.
Three things make a caulk line look pro and hold up: the right caulk for the spot, clean and dry prep, and tooling the bead so it's pressed into the joint instead of sitting on top. Nail those and even a shaky hand comes out clean.
Start with the right caulk
Using the wrong caulk is why so many jobs fail early — the prettiest bead in the world peels if it can't handle the conditions.
- 100% silicone for anything wet — tubs, showers, sinks, around fixtures. It won't take paint, but it flexes and shrugs off water for years.
- Paintable siliconized latex (acrylic) for trim, baseboards, crown, and any gap you'll paint over. It tools easily and cleans up with water.
- Exterior polyurethane or butyl for the outside of the house, where a joint has to flex through the seasons and take real weather.
- Backer rod — a foam cord you stuff into any gap wider than about a quarter inch before caulking. Caulk alone can't bridge a wide gap; it just sags and fails.
Prep matters more than you think
Caulk grabs clean, dry surfaces and fails on grimy or wet ones. On a re-caulk job, dig out the old caulk completely (a plastic caulk-removal tool or a utility knife works), scrub off any mildew, wipe the joint with rubbing alcohol, and let it dry fully. Fresh caulk laid over old, mildewy, or damp caulk just peels away with it — no technique saves a bad surface.
The technique
- Cut the tip small, at a 45° angle. Start smaller than you think — you can always trim more off, but you can't un-cut it. A small hole gives you a thin, controllable bead; a big one dumps a flood you'll spend ten minutes wiping up.
- Pull the gun toward you, don't push it, in one steady motion down the joint at a consistent speed. Pushing shoves a wave of caulk ahead of the tip and piles it up; pulling lays it in clean and even.
- Tool it once. Drag a wet fingertip or the back of a plastic spoon down the bead to press it into the joint and smooth the surface. Once — going back over a bead that's starting to skin is what turns a clean line into a smear.
The pro trick for a razor-clean line: run painter's tape down both sides of the joint before you start, lay and tool your bead, then peel the tape away while the caulk is still wet. You're left with two perfectly straight edges no freehand pass could ever match. Peel it too late — after it skins over — and you'll tear the very edge you just made, so pull the tape right after tooling.
Match the bead to the joint
A common reason a finished line looks off is a bead that's the wrong size for the gap it fills. A hairline crack around trim wants a thin bead from a small tip; a wider gap between a countertop and a wall wants more caulk and a bigger opening. Cut the tip to roughly the width of the gap — and if the joint is deeper than it is wide, press backer rod in first so the caulk forms a shallow band that can flex instead of a deep plug that tears itself apart as the joint moves. Caulk is meant to bridge and seal a gap, not structurally fill a canyon; for anything wider than about a half inch, that's a job for trim, backer rod, or a different material entirely.
Two habits that separate clean from messy
First, keep a damp rag in your other hand the whole time. Caulk gets everywhere, and a smear wiped immediately vanishes while one left to skin over becomes a permanent smudge you have to cut off. Second, work in sections you can tool before they skin — silicone and acrylic start setting within a few minutes, so lay a couple of feet, tool it, then move on, rather than running a ten-foot bead and coming back to a line that's already too dry to smooth cleanly.
Give it time to cure
A fresh bead needs time to set up before it can do its job. Silicone typically needs about 24 hours before it's fully cured and waterproof — check the tube, since fast-cure formulas exist. In that window, keep it dry and untouched.
Skip this
Running water over a fresh silicone joint or showering before it cures. Rushing the cure is exactly how water sneaks behind the bead while it's still soft, and you end up with mildew and peeling caulk within a month — undoing the whole job. A day of patience is the cheapest part of caulking well.
Keep going

The Right Way to Mix Concrete (Most People Get the Water Wrong)
Too much water is why so much DIY concrete cracks — here's the consistency to hit.

Replace a Window Without Wrecking the Wall Around It
Know which kind of replacement you're doing before you pry anything loose.

Your AC Froze Into a Block of Ice — Here's the $0 Fix Before You Call Anyone
Nine times out of ten it's airflow, and you can clear it in about ten minutes.